
Have you just purchased vinyl or carpet flooring for your pontoon boat, but have no idea how to install it? With Canada Pontoon, we'll guide you through the installation process!
In this blog, we'll walk you through the steps for a simple and complete installation of your vinyl or carpet floor.
Please note: This blog does not include instructions on how to remove your old pontoon floor. We only give instructions on how to install the new floor.
Step 1: Prepare plywood for new floor installation
First, seal the screw holes in the plywood with a waterproofing compound and allow to dry so that the compound can fill the holes.
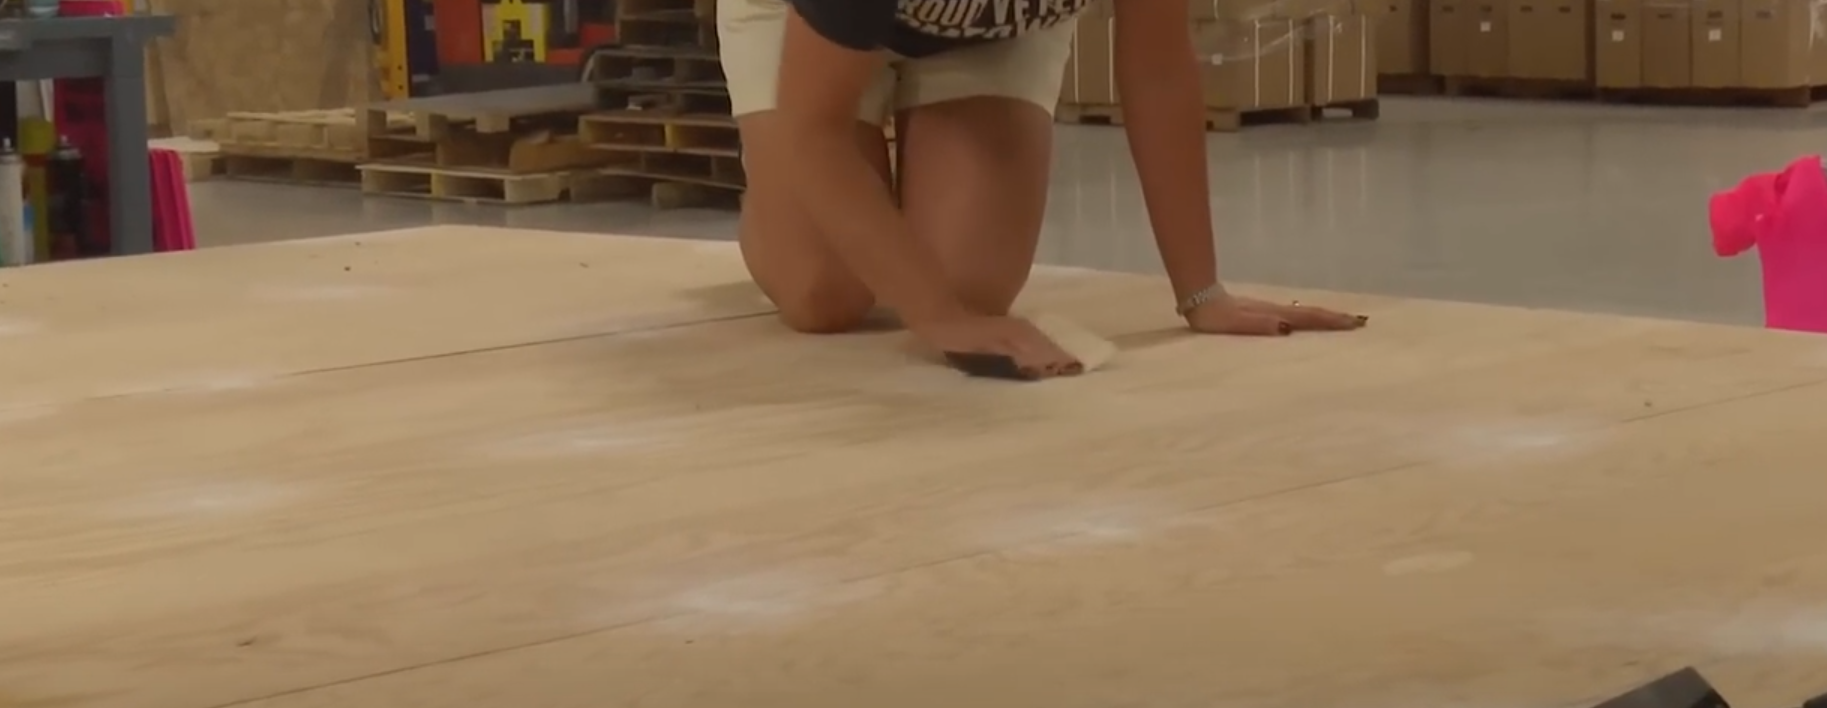
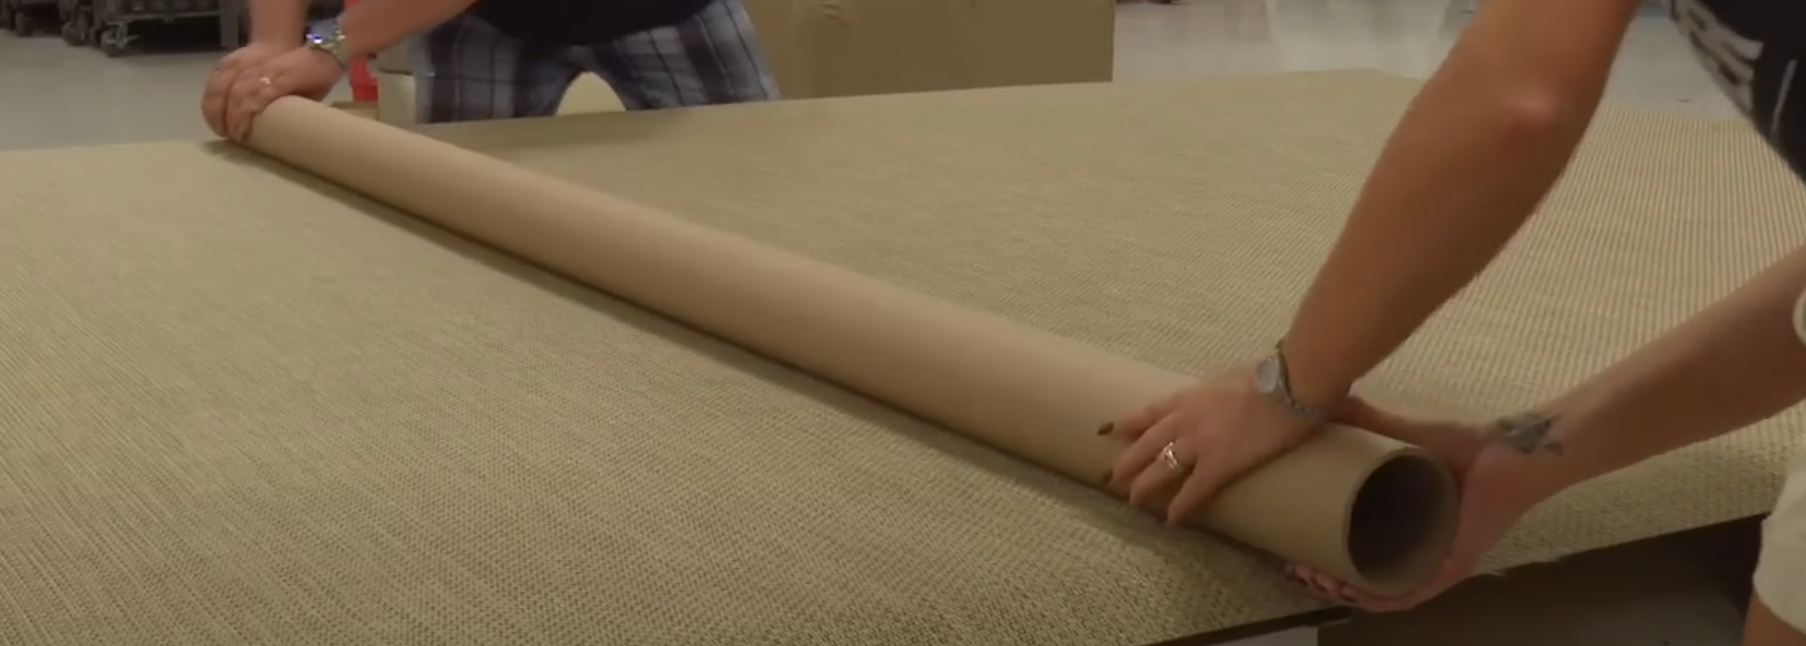
Then clean the plywood with a broom to remove any dust or debris. Unroll the carpet or vinyl on the plywood surface and allow it to set for 30 minutes.
Finally, fold the carpet or vinyl in half and move on to the next step.

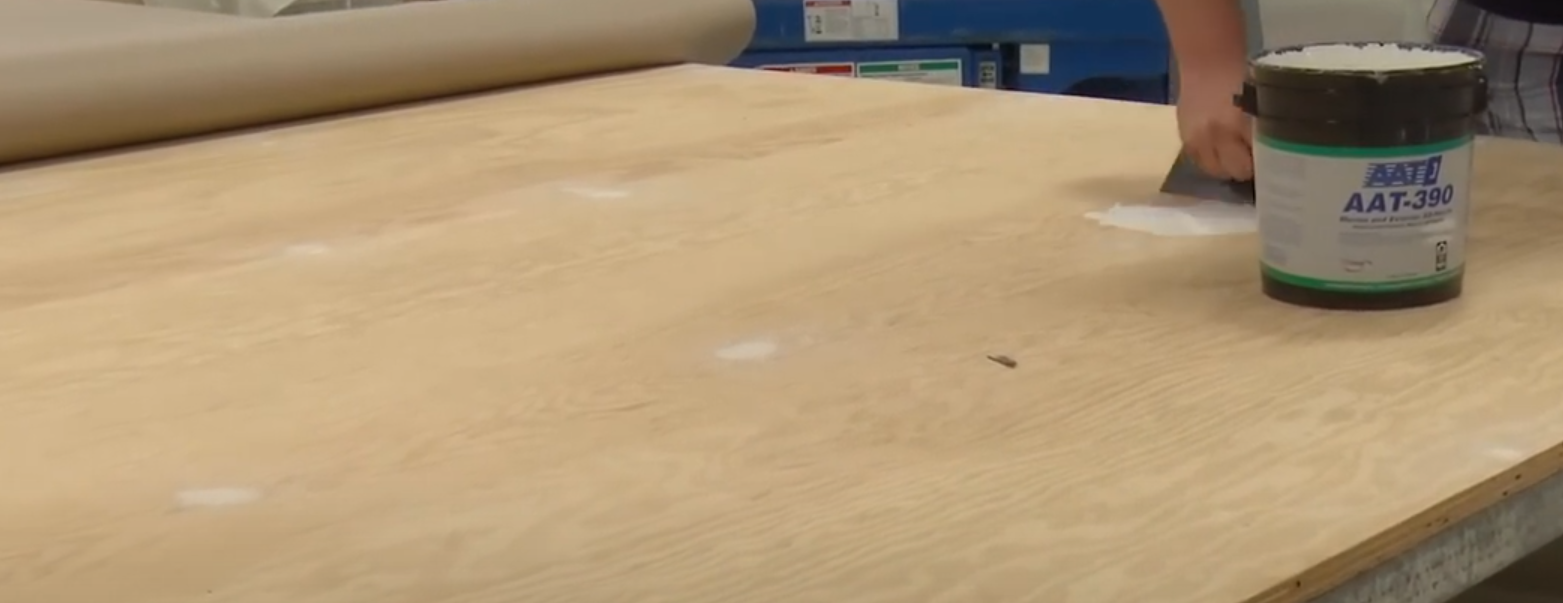
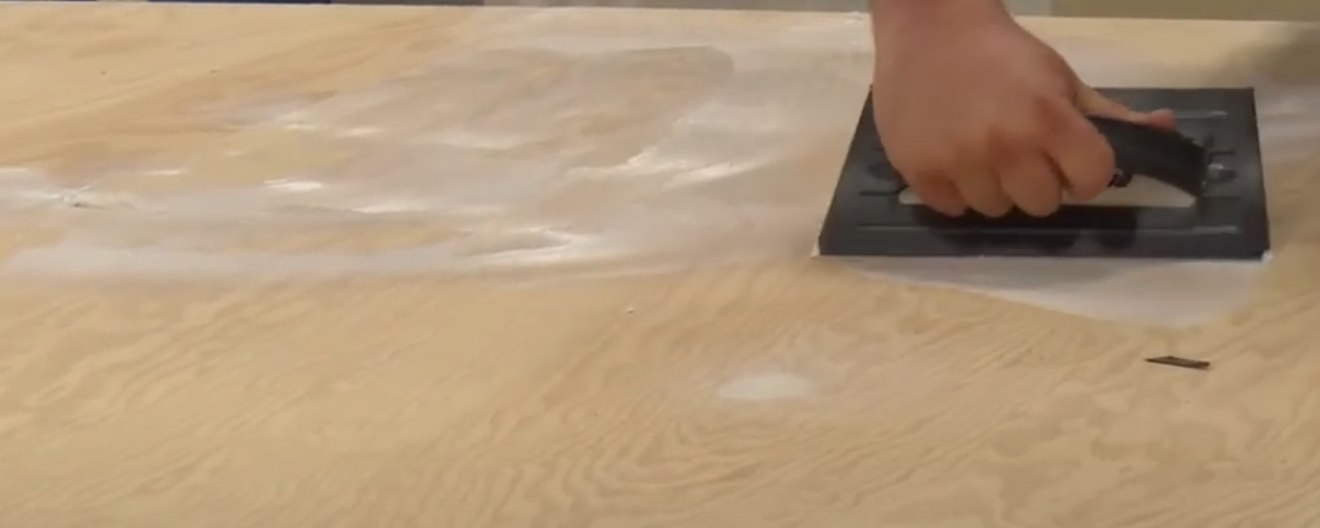
Step 2: Apply glue to plywood
Use our carpet and vinyl glue with a 1/8" trowel. Apply the glue to half the surface of your pontoon and it will take between 10 and 25 minutes.
Depending on the length of your pontoon boat, we recommend the following:
- 16-foot deck = 2 glues (DM-9080)
- 20-foot deck = 2 glues (DM-9080)
- 24-foot deck = 2 glues (DM-9080)
- 28-foot floor = 3 glues (DM-9080)
In addition, the temperature must not exceed 18 degrees 24 hours before, during and 24 hours after installation.
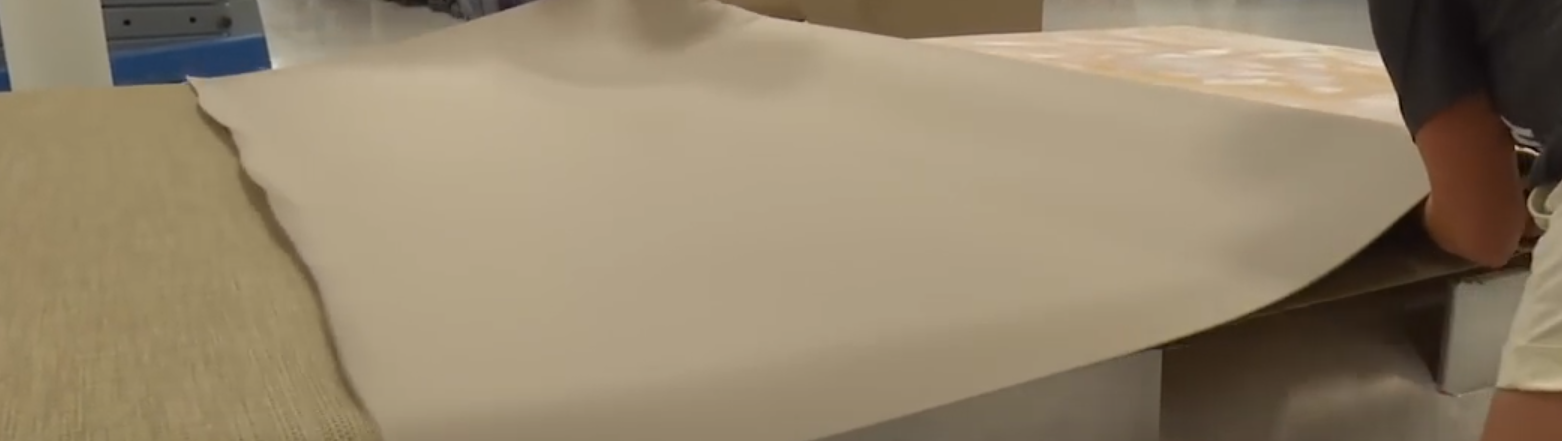
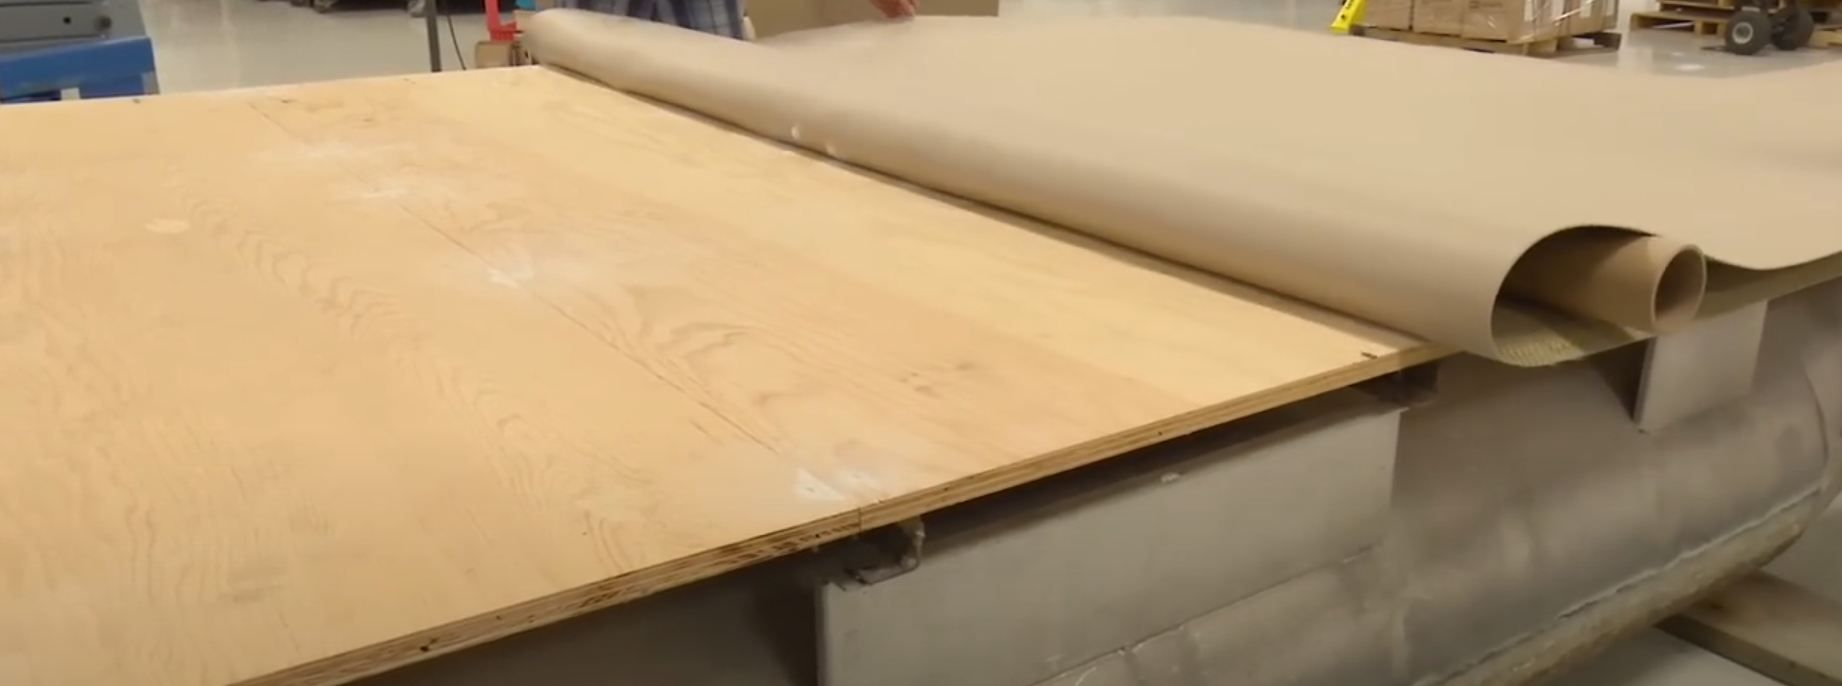
Step 3: Place flooring on plywood
On the glued half of the plywood, apply the carpet or vinyl with the cardboard roller using strong pressure to start with, then use a rigid block to remove any remaining air bubbles in the new floor.
Finally, when the side with the floor applied to the plywood is well glued, take the other half of the floor that is not glued and place it on top of the other half. Then do step 2 and the beginning of step 3 to finish gluing your floor to the entire surface of your pontoon boat.
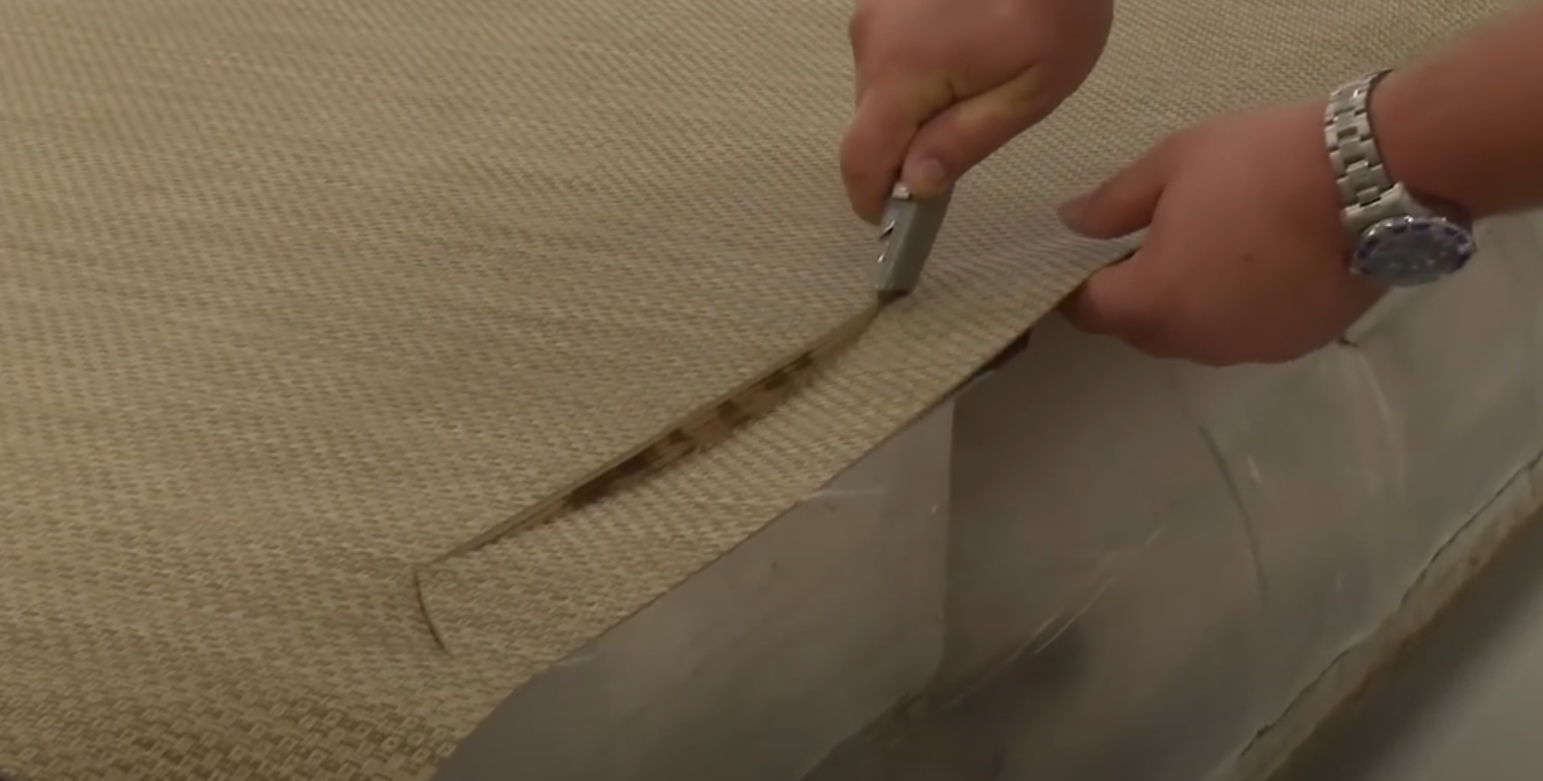
Step 4: Cutting and facing the floor sides
For cutting, simply use a cutter to trim the sides that extend beyond the new floor. To screw in the screws, simply take a drill that can pierce the wood.
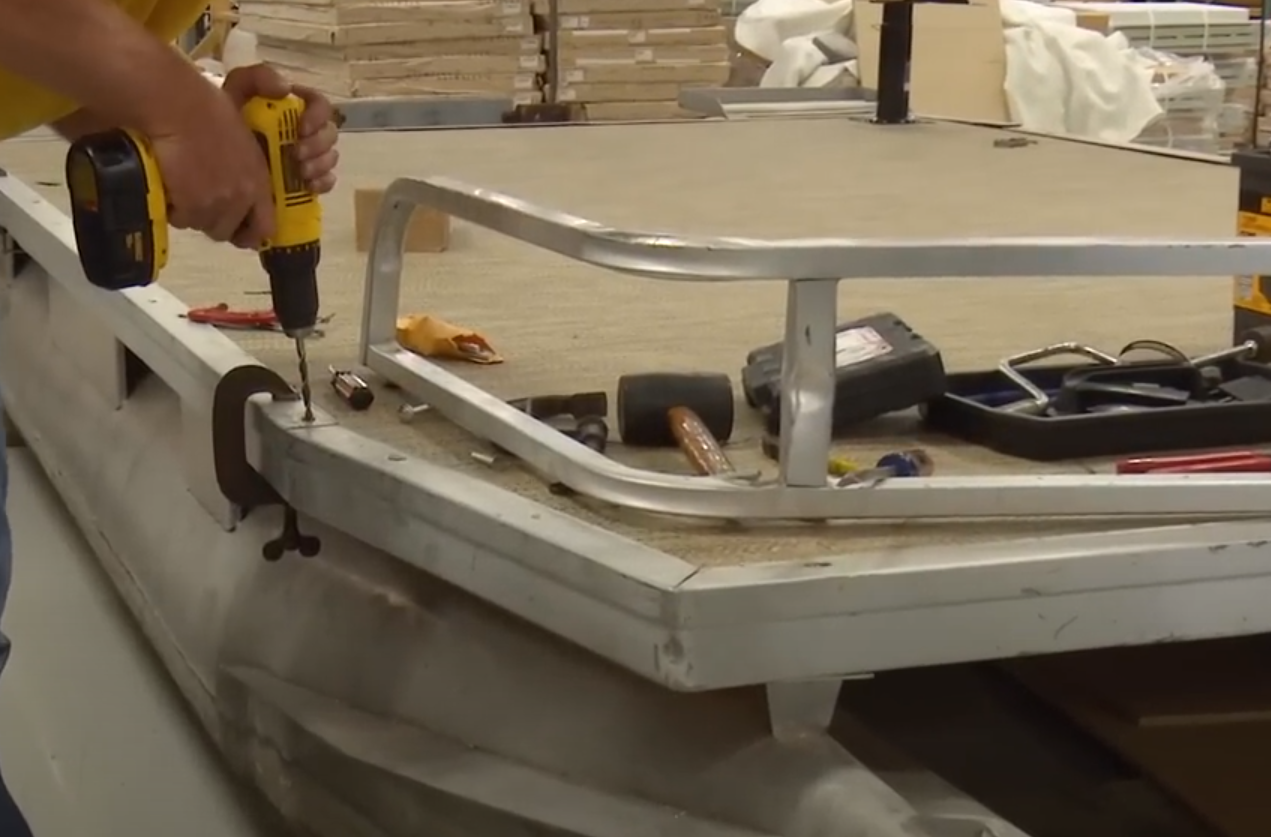
Step 5: Install furniture and accessories
Once your floor is in place, install your furniture, fencing, brackets and other fittings.
In conclusion, we hope this blog will help you achieve a successful floor installation. If you have any further questions, please call us at 450-692-4444.